
Project Eco Panda
Client :
Toyzone Impex Pvt. Ltd.
Industry:
Toys
Location :
India (Modren and Retail Trade)
Marketing Objective :
Create Multiple objects and characters to compete the market
Challenge :
The challenge lies in the need to create multiple objects and characters that can compete with similar products available in the market. Additionally, these products must possess an entirely new look that is both attractive and economical for customers.
Solution :
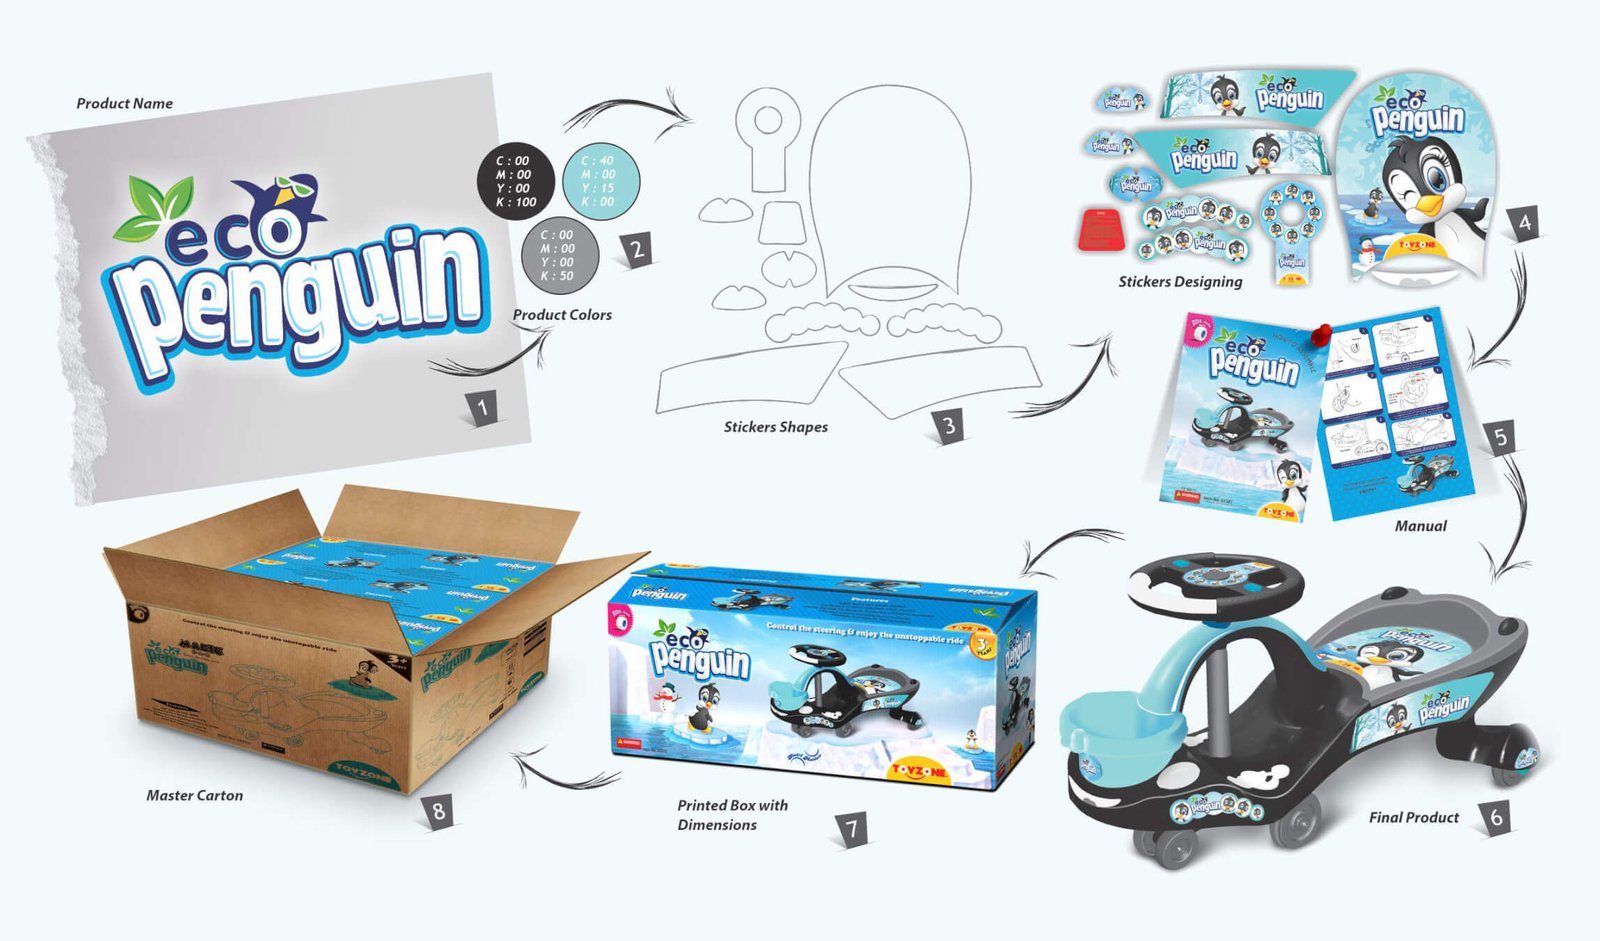
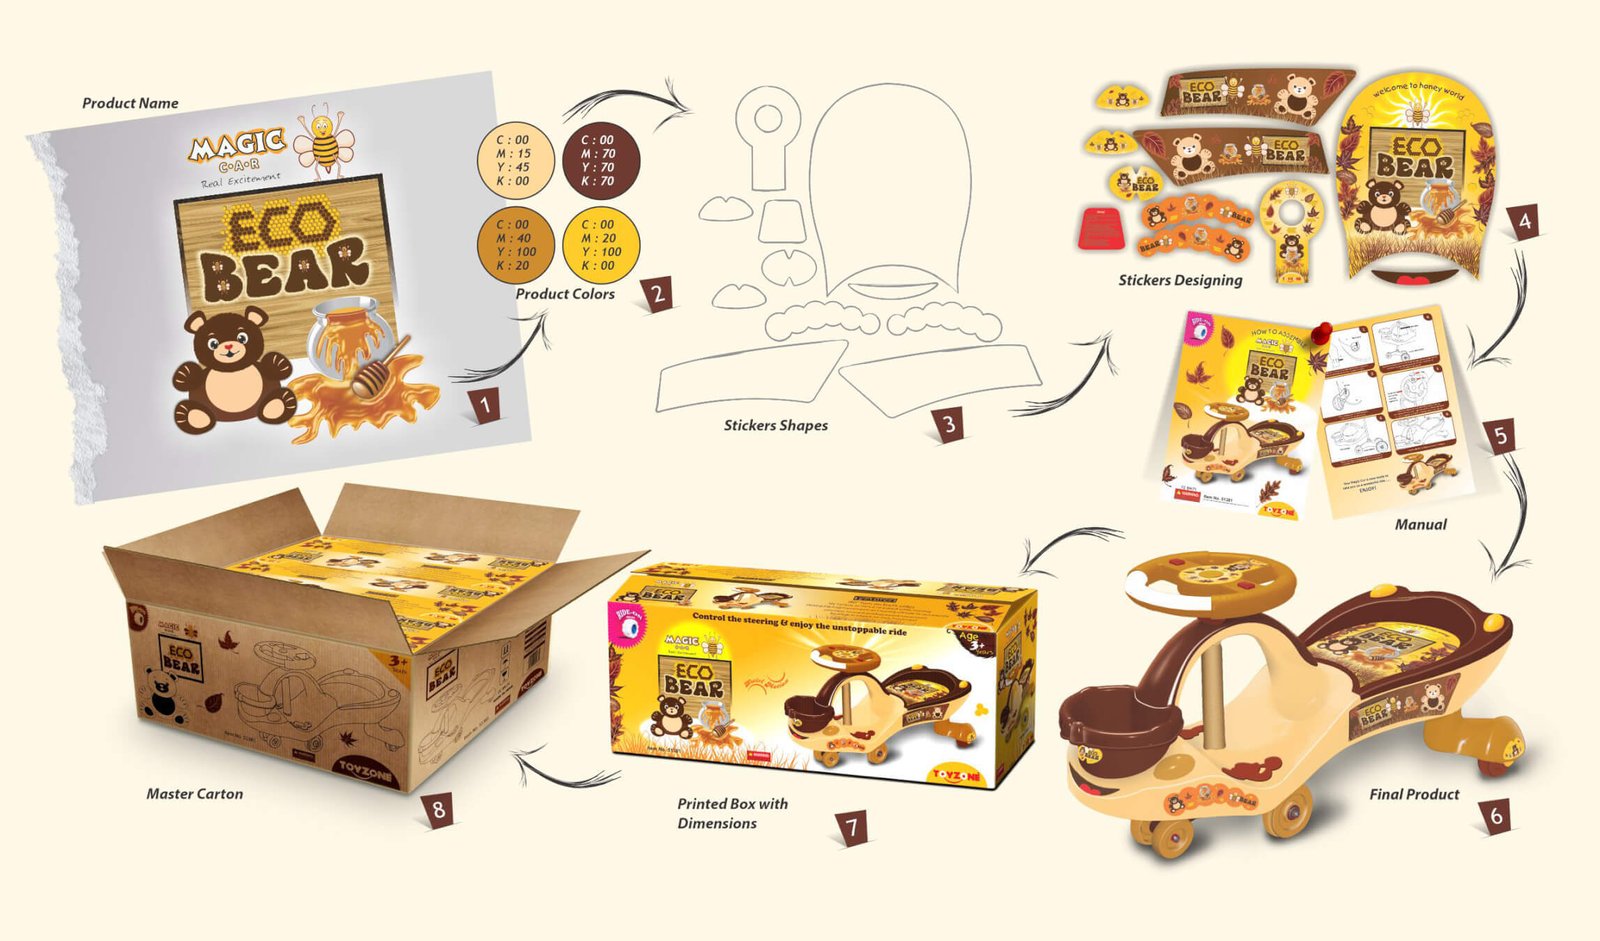
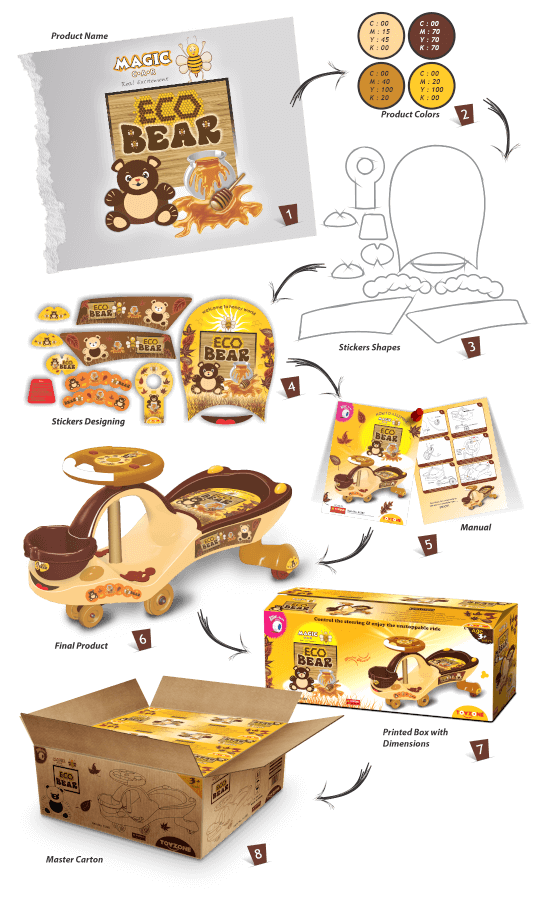
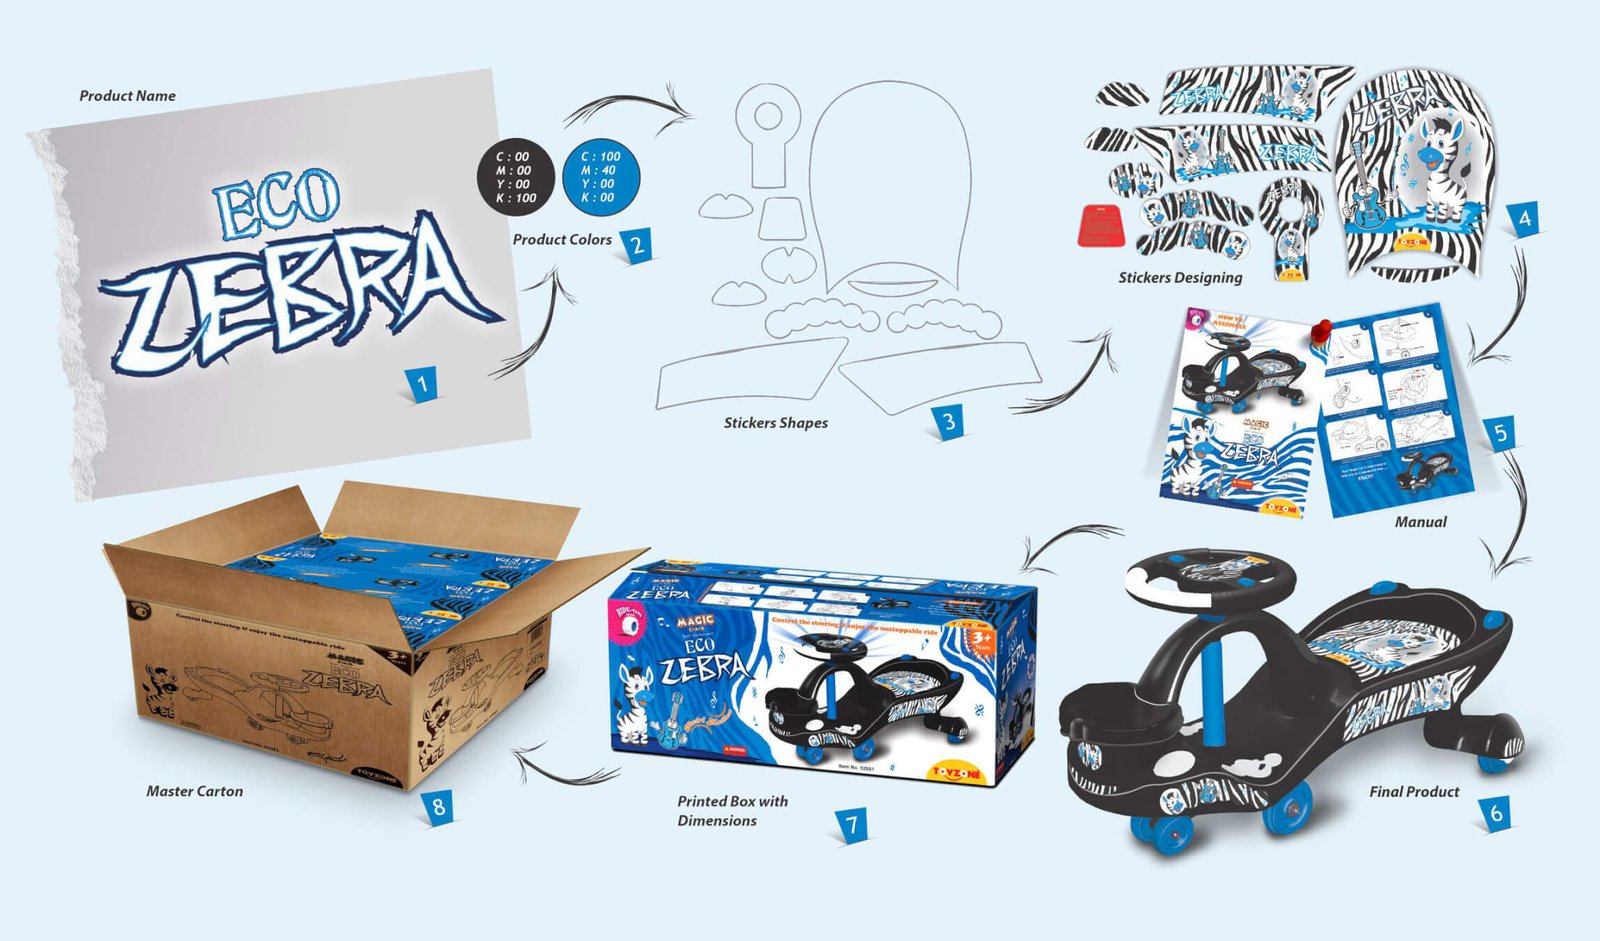
We devide solution into 13 different parts which are going to explain it as under
- Step 01
Defining Product Name
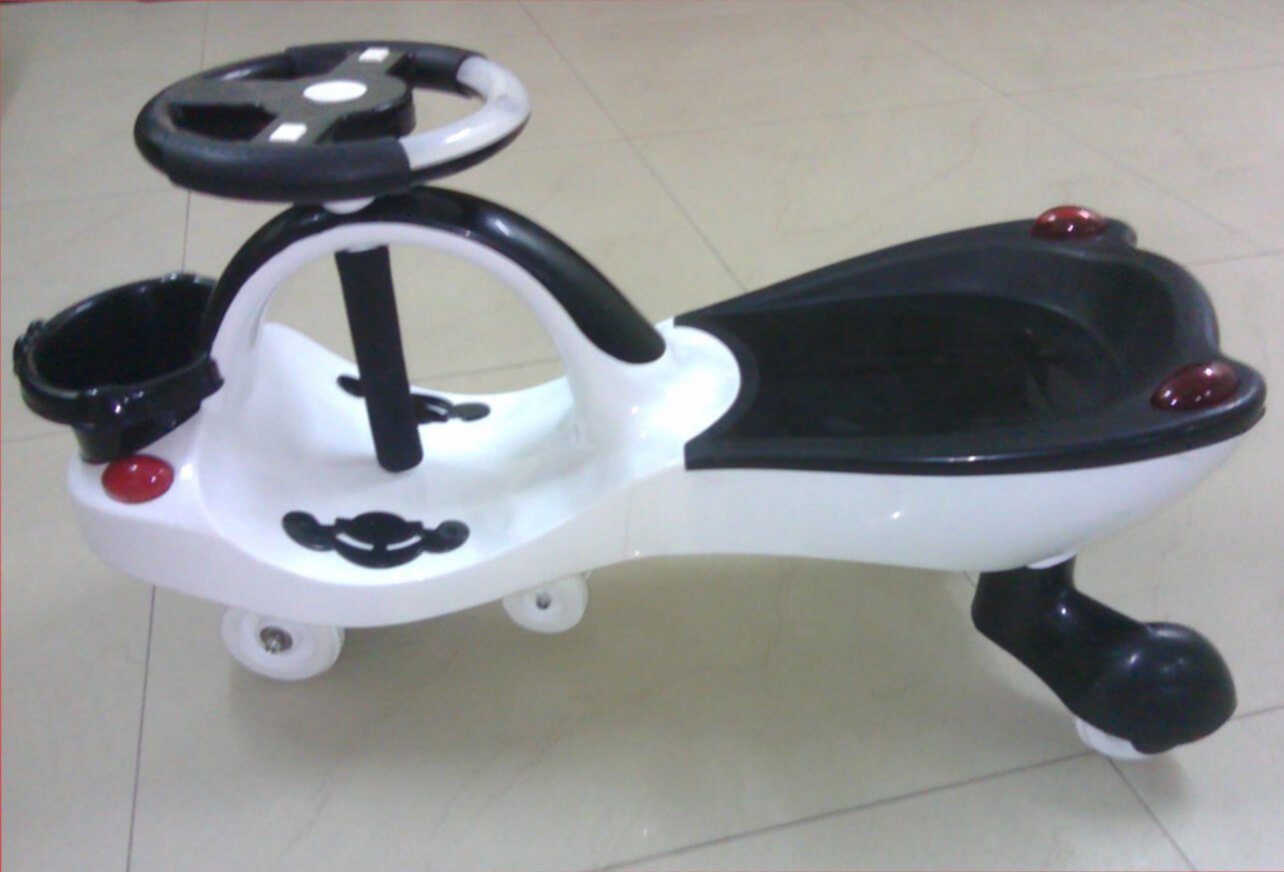
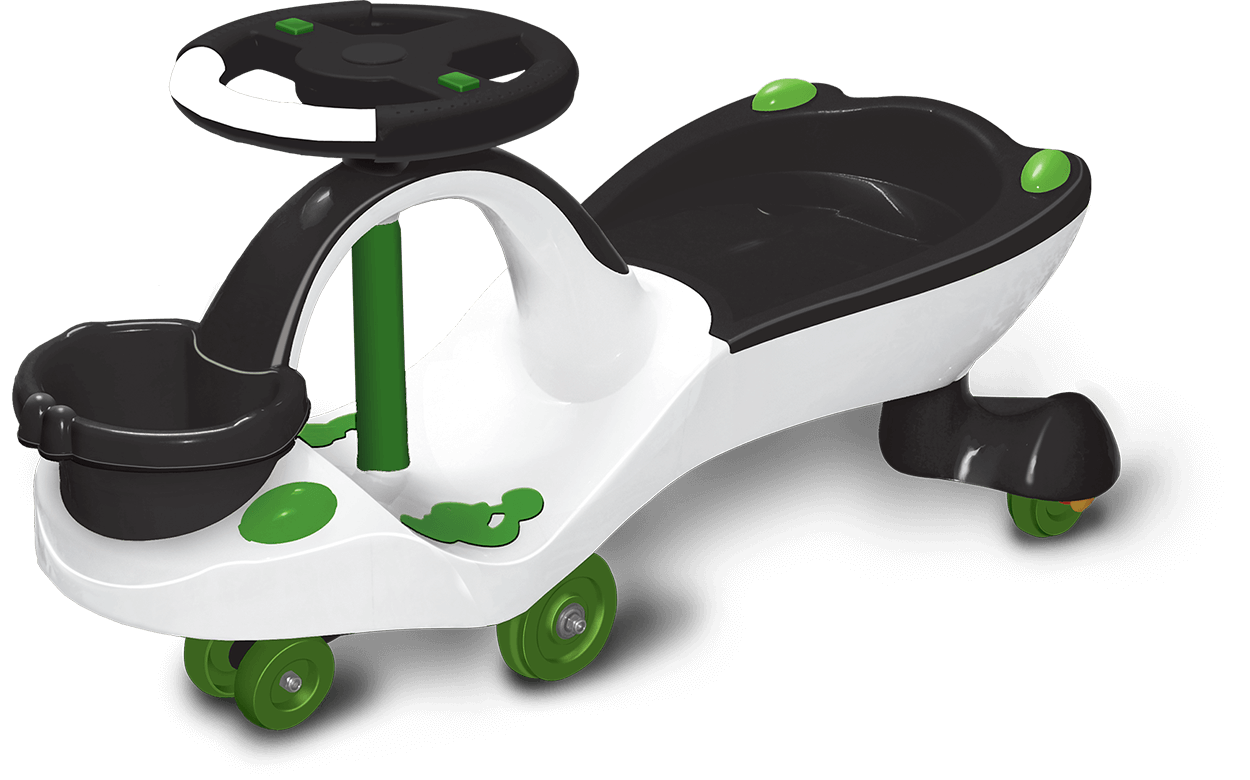
In over telephonic conversation with the client just shared the image of the product and said “What we can do with this product, I have a meeting tomorrow with my client”, we suggested the name Panda and he added eco for the economical range. That created the name ECO PANDA
- Step 02
Defining Product Color
A pinch of green with black and white not made the product look attractive, but also a sense of association with nature and Panda’s favorite food, Bamboo.
- Step 03
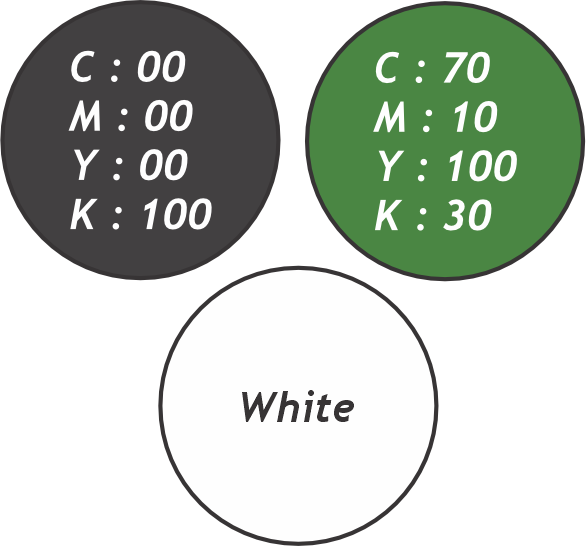
Color Code of Each Part
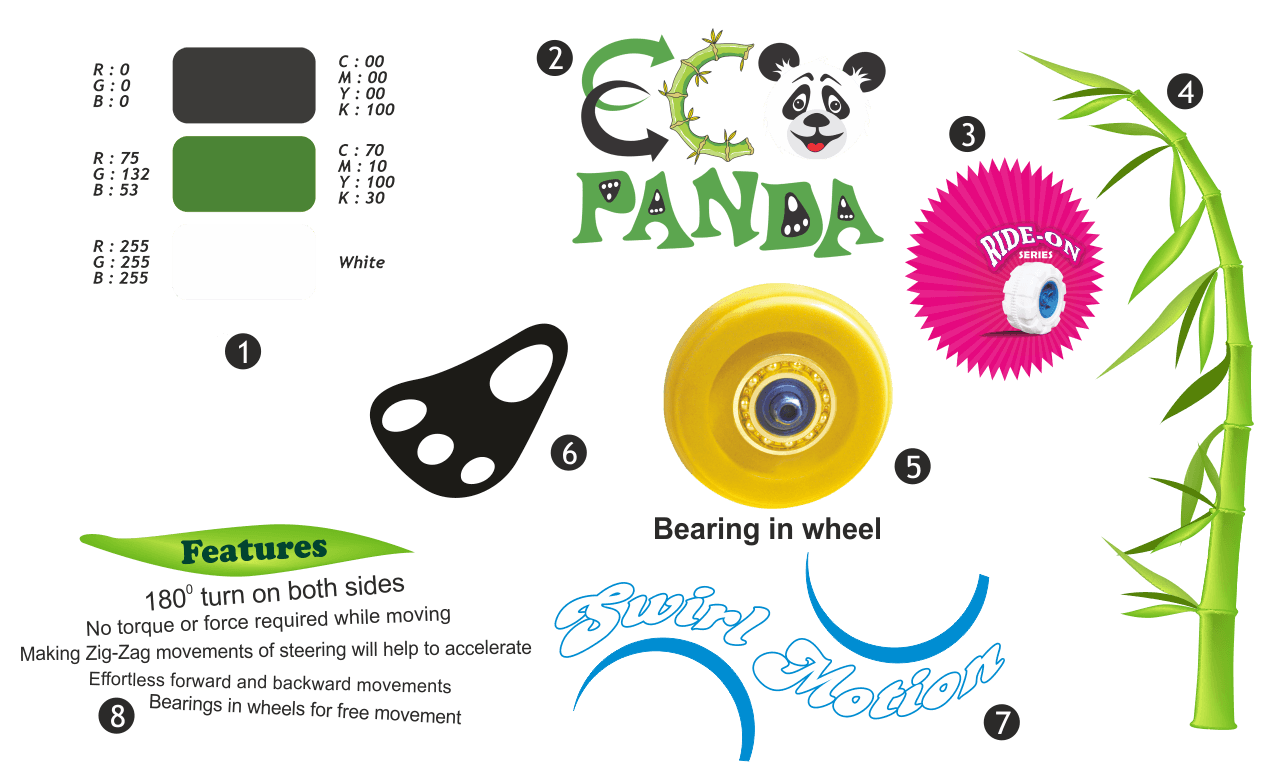
Select the Color code for the entire product, and label them to provide it to the client, so that the client does not need to do R&D for the color combination.
Advantages:
1. Eliminate the need for extensive research and development when choosing colors for your product.
2. Simplify the process by providing a color code for each part.
3. Experience cost savings in production and materials, while also benefiting from significant time savings.
- Step 04
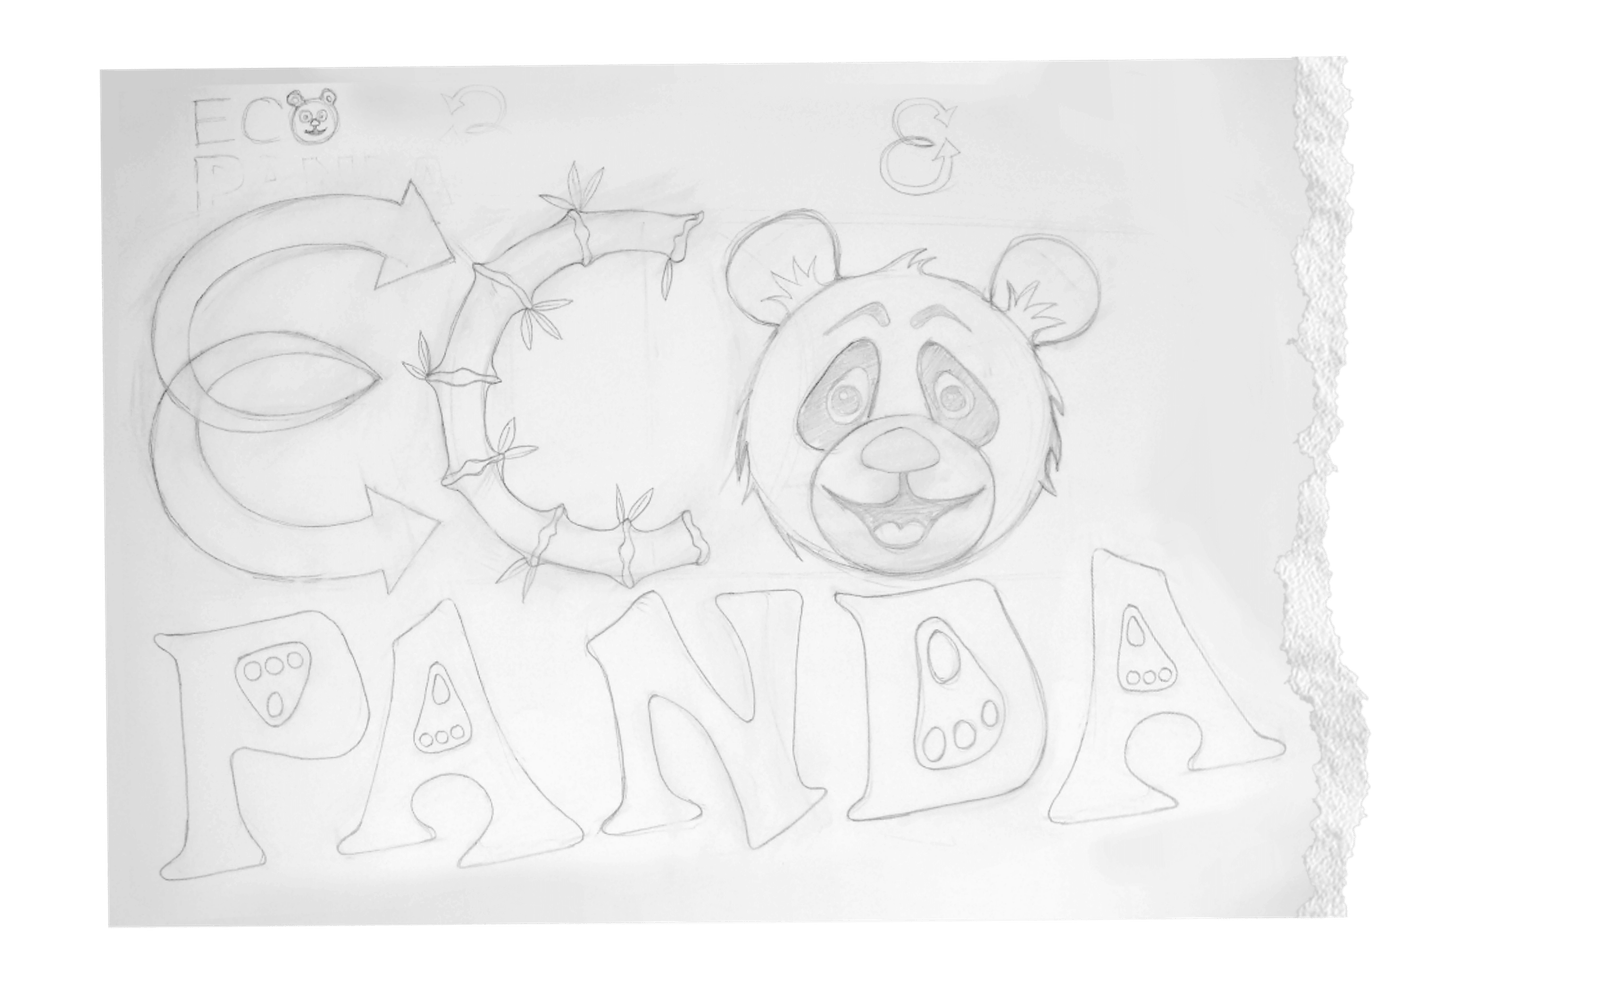
Sketching Logo
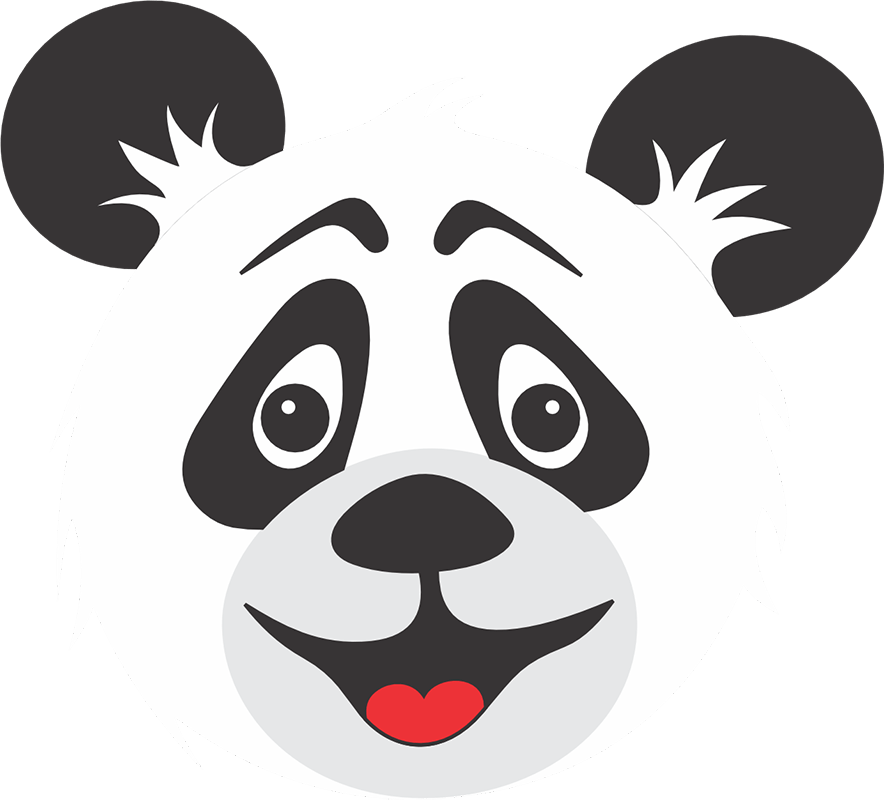
Drawings of an entirely new typography, with the incorporation of a fascinating mascot so kids could relate it to Panda at first sight.
- Step 05
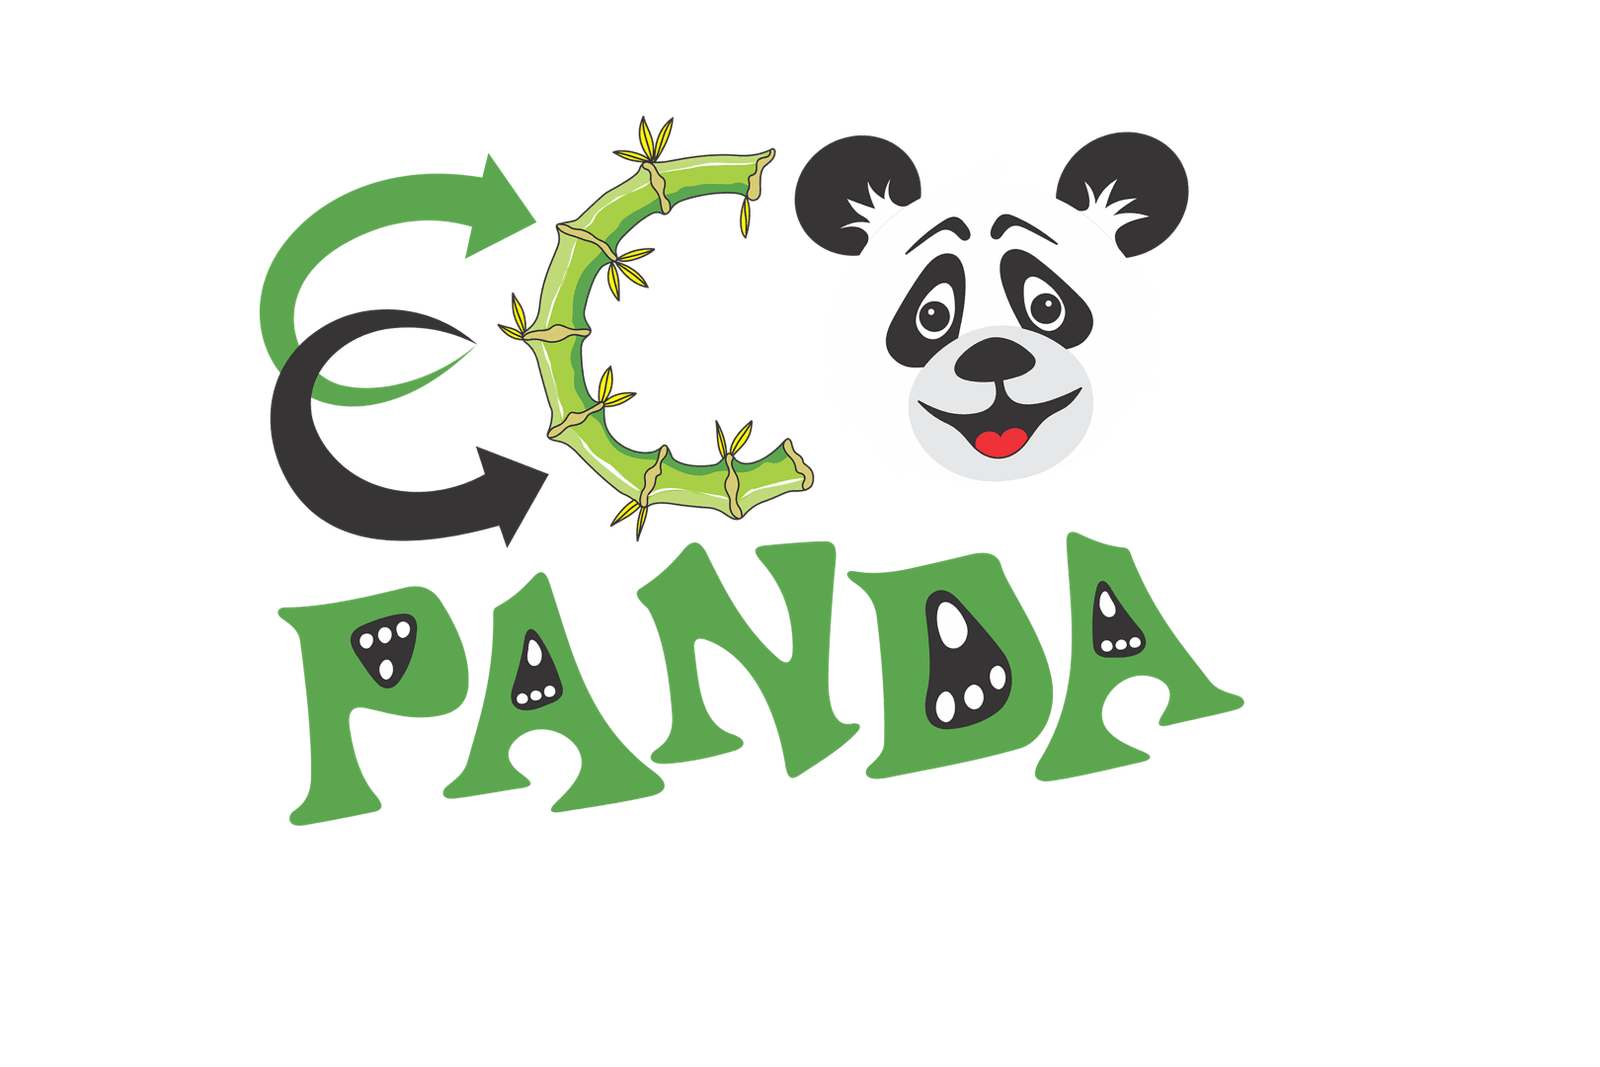
Finalizing the Logo
A careful selection of colors made the character lively and enhanced the look. Hover over the image to see each explanation.
- Step 06
Gathering Elements
Gather all elements together whether it is the product logo, even bamboo recreated in a rounded shape, giving a new style to swirl motion, features represented in different styles, panda paws, etc.
Advantages:
4. New logo for your particular for that product, with whole new typography
5. We provide color-corrected images that closely resemble the actual product.
6. Our high-resolution images are perfect for large-format printing.
7. By showcasing these images, our clients can attract more orders from the market.
- Step 07
Creating Sticker Shapes & Designs
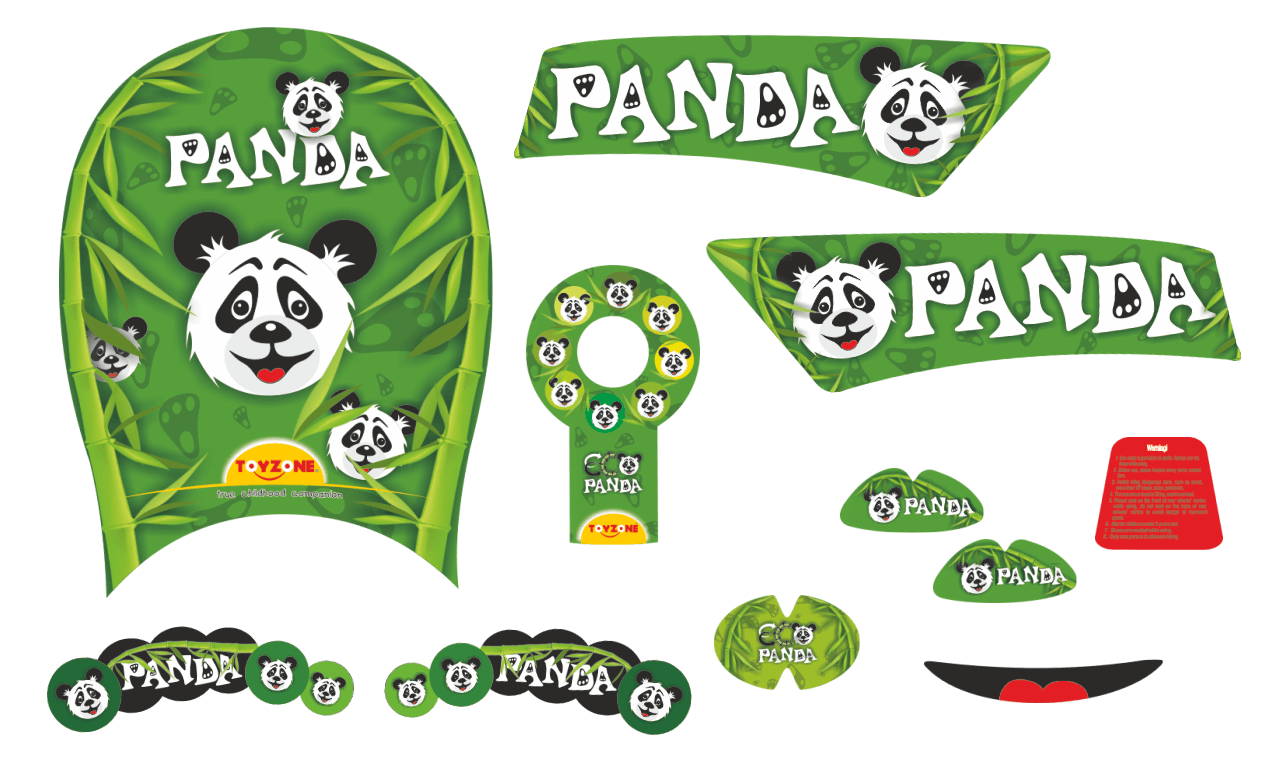
A very tedious task to create new shapes of the stickers on the curvy surface, have to try many times to achieve the desired shapes. After that, we decided to design each sticker according to the product theme and color contrast

- Step 08
Enhance Your Product Images
Our photography captures the essence of your product from every angle, ensuring maximum visibility but we don’t stop there, our expert team takes your final product images and elevates them to perfection. We enhance them with precise color correction, brightness adjustments, texture enhancements, and sharpening techniques. Additionally, we skillfully superimposed any stickers or labels onto the images. Experience the difference our image enhancement services can make for your product presentation.
- Step 09
Creating Manual
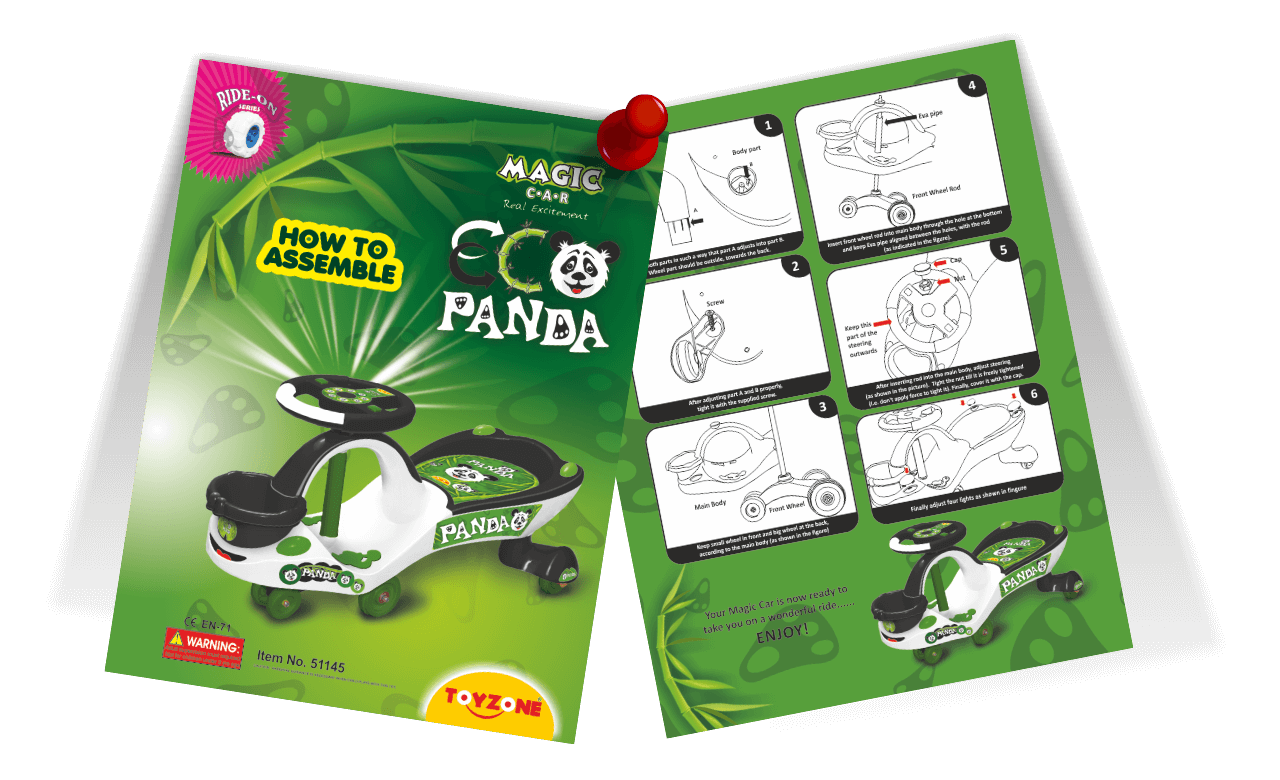
A comprehensive, user-friendly manual has been meticulously crafted for our valued customers. This detailed guide is packed with step-by-step procedures and accompanied by informative graphics, empowering you to effortlessly assemble our product. Say goodbye to any confusion and enjoy the satisfaction of building it yourself.
- Step 10
Designing of Printed Box
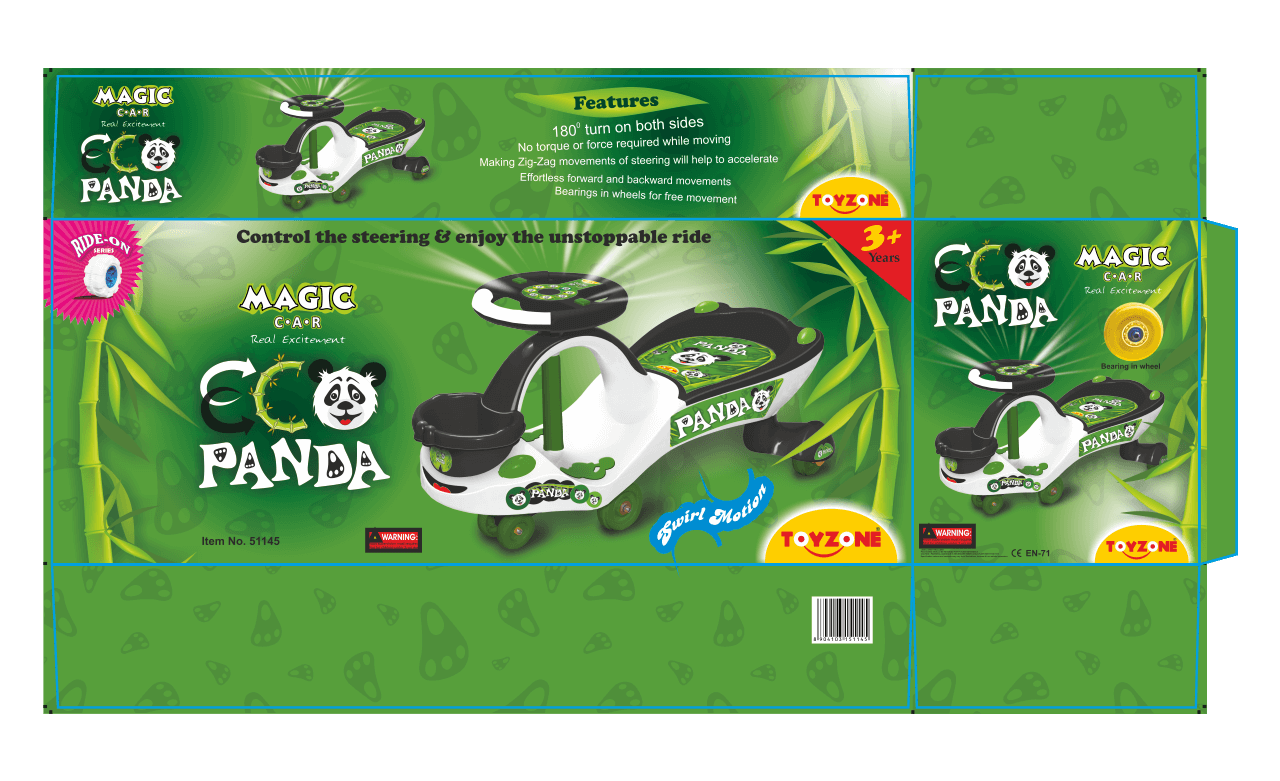
Packaging box is the most important element in luring your customers. We designed it in a way to make it stand out, with the product highlighted.
We did our best to do justice to the design and thankfully, the results were quite fruitful.
- Step 11
3D Box
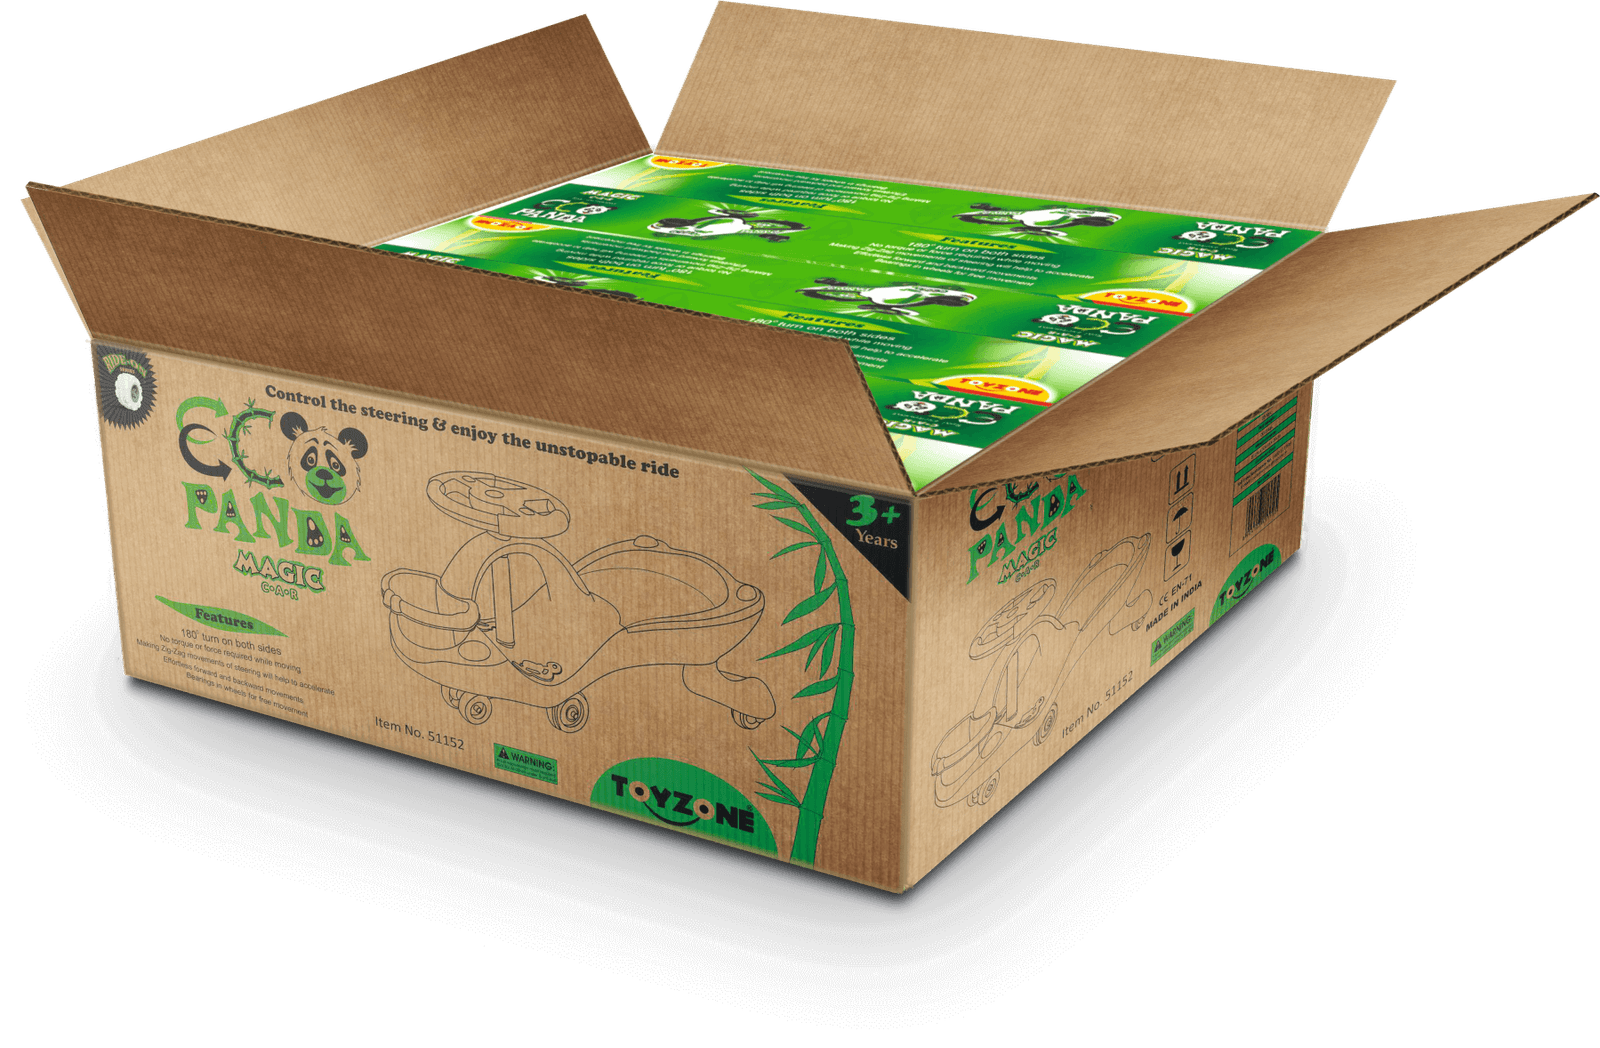
Made this 3-dimensional box to see how it would look on the shelf. Try to give a real-like box look for an original printed box. Create corrugation texture with light and shadow.

Advantages:
8. Ready all the designs like product images, printed box, and manual before making a real product.
9. Got the overview of the printed box, and how will it look on the shelf.
10. All the dimensions of the box will be calculated and make sure it will be adjusted to the standard size of the duplex which is available in the market.

- Step 12
Designing of Master Carton
Packaging box is the most important element in luring your customers. We designed it in a way to make it stand out, with the product highlighted.
We did our best to do justice to the design and thankfully, the results were quite fruitful.
- Step 13
Representation of Master Carton
This image is created in Photoshop, with a perspective view, light, shadows, and colors, and even its dimensions were calculated on the basis of inner box size, before its manufacturing.
Advantages:
11. On the basis of the printed box we are able to calculate the master packaging for logistic
12. Will get the errorless printable file, to eliminate the communication gap.
13. The designs are ready before the actual product is produced and can be ready while the product is in the process of being made.
Result :
Over the period 7 years, after creating it in September 2015 Sold more than 20 lac pieces
What’s Good About:
Liked by parents as well as children and neighbours
Further Insight :
Inspired to create more character on the same product and increase further sale
Eco Panda Concept


Eco Bear Concept
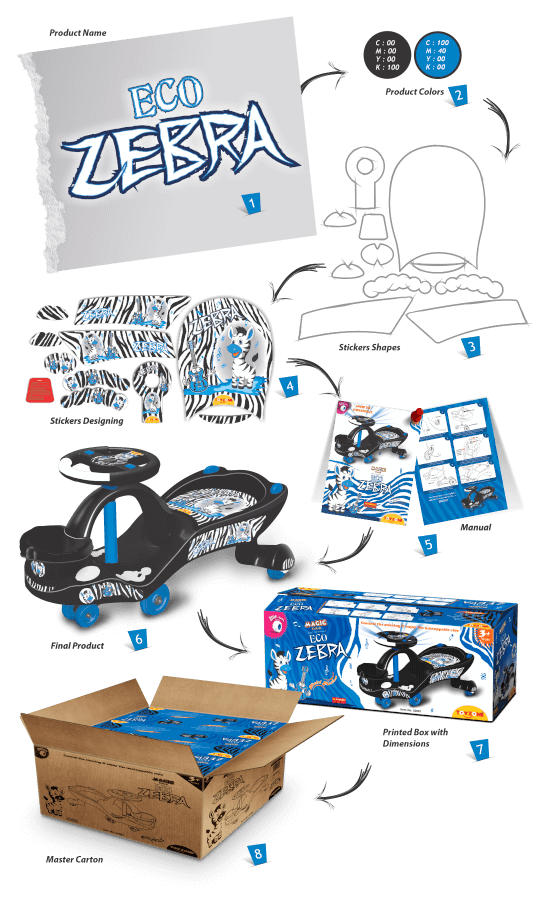
Eco Zebra Concept
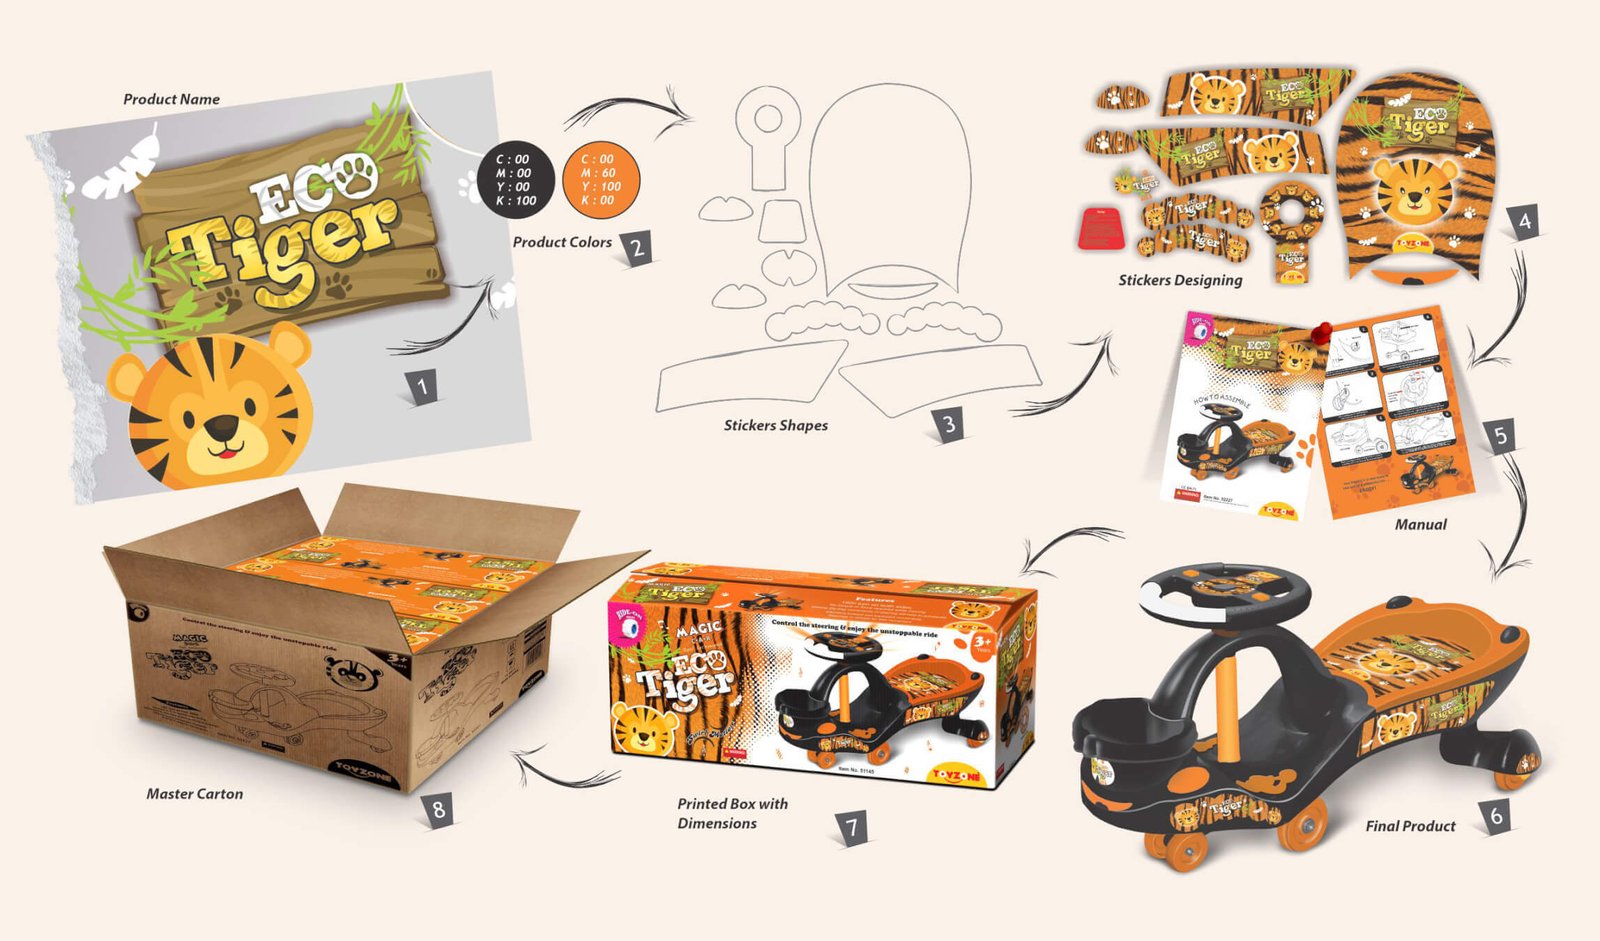
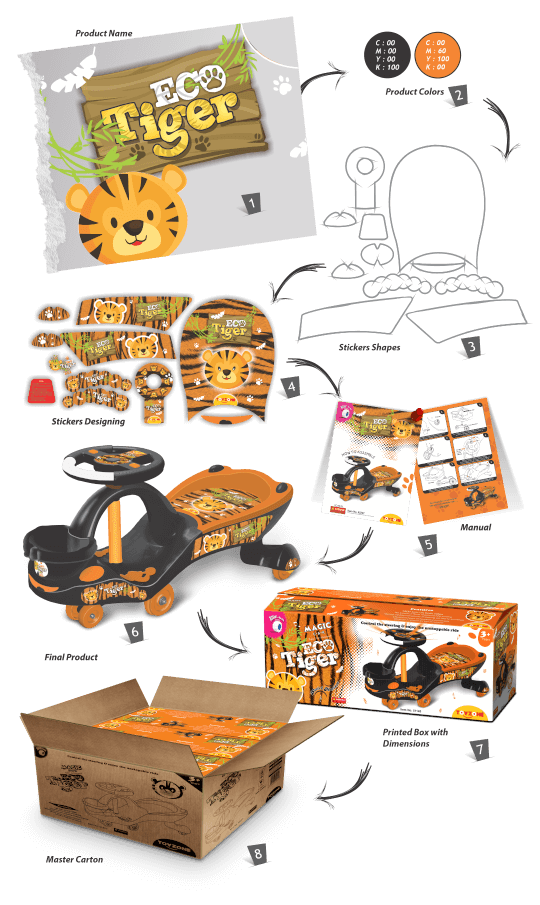
Eco Tiger Concept
Eco Penguin Concept
